Watch our video guide or read through our step-by-step guide to creating personas:
1) Click on my personas > manage personas in the left hand navigation.
On the right hand side is a list of the created personas and once you've selected a persona, you manage their details on the left hand side of the page.
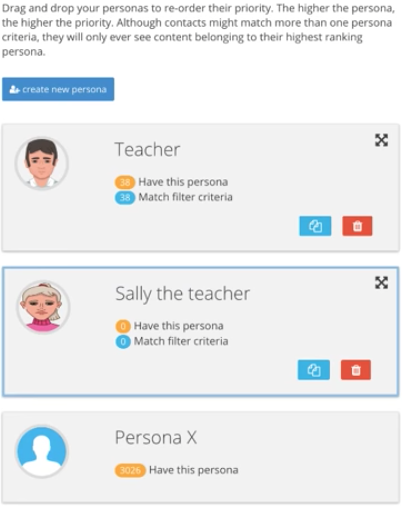
Persona X is the default persona and any customer who doesn’t match any of the personas you create will automatically be assigned Persona X.

2) Click ‘create new persona’ button (top right)
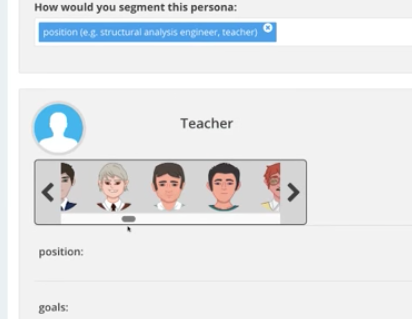
3) Click on the profile image to select an avatar for your persona and give the persona a name by clicking the default ‘Persona #’ title to the right.
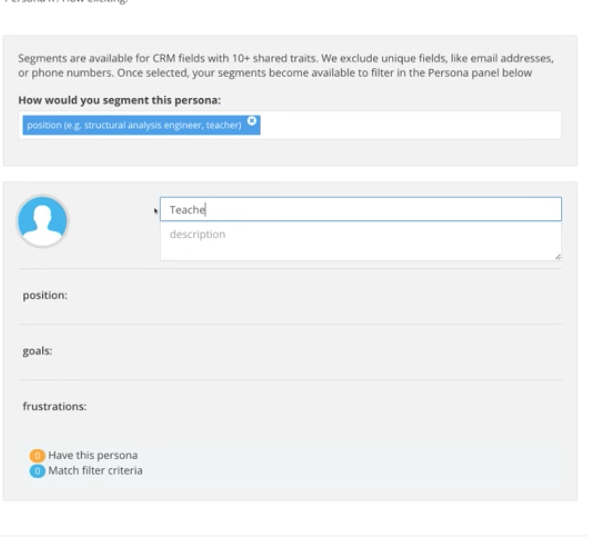
4) Click into ‘How would you segment this persona’ to see the column headings from your CRM and select the appropriate segment.
You will see the chosen segment has been added below the persona name. Click on this segment heading to choose the trait you wish to associate with your persona.
For example, my target audience contains both Apple and Android fans and I’ve asked them to specify their prefered operating system in the past. This allows me to create a persona called ‘Bob’ to help identify my Android fans and I have chosen to segment my persona by ‘Operating System’. This allows me to select ‘Android’ as the shared trait and for my second persona, Sally, the Apple fans, I’d select ‘Apple’.
You can add as many segments and shared traits as you like.

5) To finish off your persona add in their goals and frustrations. These are simply notes to help add to their personality; it helps the marketing team identify with the personas.
A goal for Bob, for example, would be to have pre-ordered all the latest gadgets before they are released. Apple frustrates him.
A goal for Sally however would be to book an international holiday at least once a year (preferably twice) and she can’t bear first generation technology as she prefers the kinks were ironed out before she gets her hands on it!
You’ll notice two numbers at the bottom of your persona:

1. The first is the number of customers in your database that have been assigned to the persona.
2. The second is the number of customers in your database who matched the filter criteria (i.e. the shared trait).
Even though some customers matched the filter criteria they won’t necessarily be assigned to the persona because the order on the right hand side gives the personas at the top of the list priority.
Some customers will fall into two or more personas. The persona at the top of the list is given priority to those underneath. Move your personas about (by dragging them from the top right hand corner) and you’ll see the number matching the persona will change depending on where in the list they fall.
For example, my persona Bob targets Android fans but I’ve actually got a second persona Dave, who targets Android developers (and funnily enough, they are also marked in my CRM as Android fans). Dave sits first in the list to give a priority to the developers and this effectively excludes the Bob’s from the Dave persona. If Bob was above Dave in the list, then all fans would be prioritised over developers and seeing as our developers are also fans, they’d be counted as Bob’s.
The persona and filter matches mirror this weighting in priority.